
Welcome to part two of the project breakdown for my Zheng Yi Sao character portrait. In the last post I talked about the modelling, texturing and grooming stages. This chapter will be focused on more of the technical aspects of posing the character. I will break down some of my facial shape modelling process as well as show a sneak peak into the auto rigging tool I have been working on recently.
Facial Shapes
For this project I wanted to create some blendshapes for a few areas of the face with the aim to create a more expressive pose for the final portrait. To create the blendshapes I used a free plugin for Maya called Simplex. Credit to Tyler Fox at Blur Studios for making such an awesome tool; it has helped me a great deal over the last few years. Simplex is essentially a blendshape network management tool which handles all the shape math nodes, and therefore allows the artist to focus on just the creative aspects of blendshape modelling. With this tool you can can easily update your shapes at any time and also swap out your neutral model whilst retaining the shape network attached to it. These are just the basics of the tool though – it has a number of other cool features worth checking out.

See below a timelapse showing some of my rigging process for her head and shoulders.
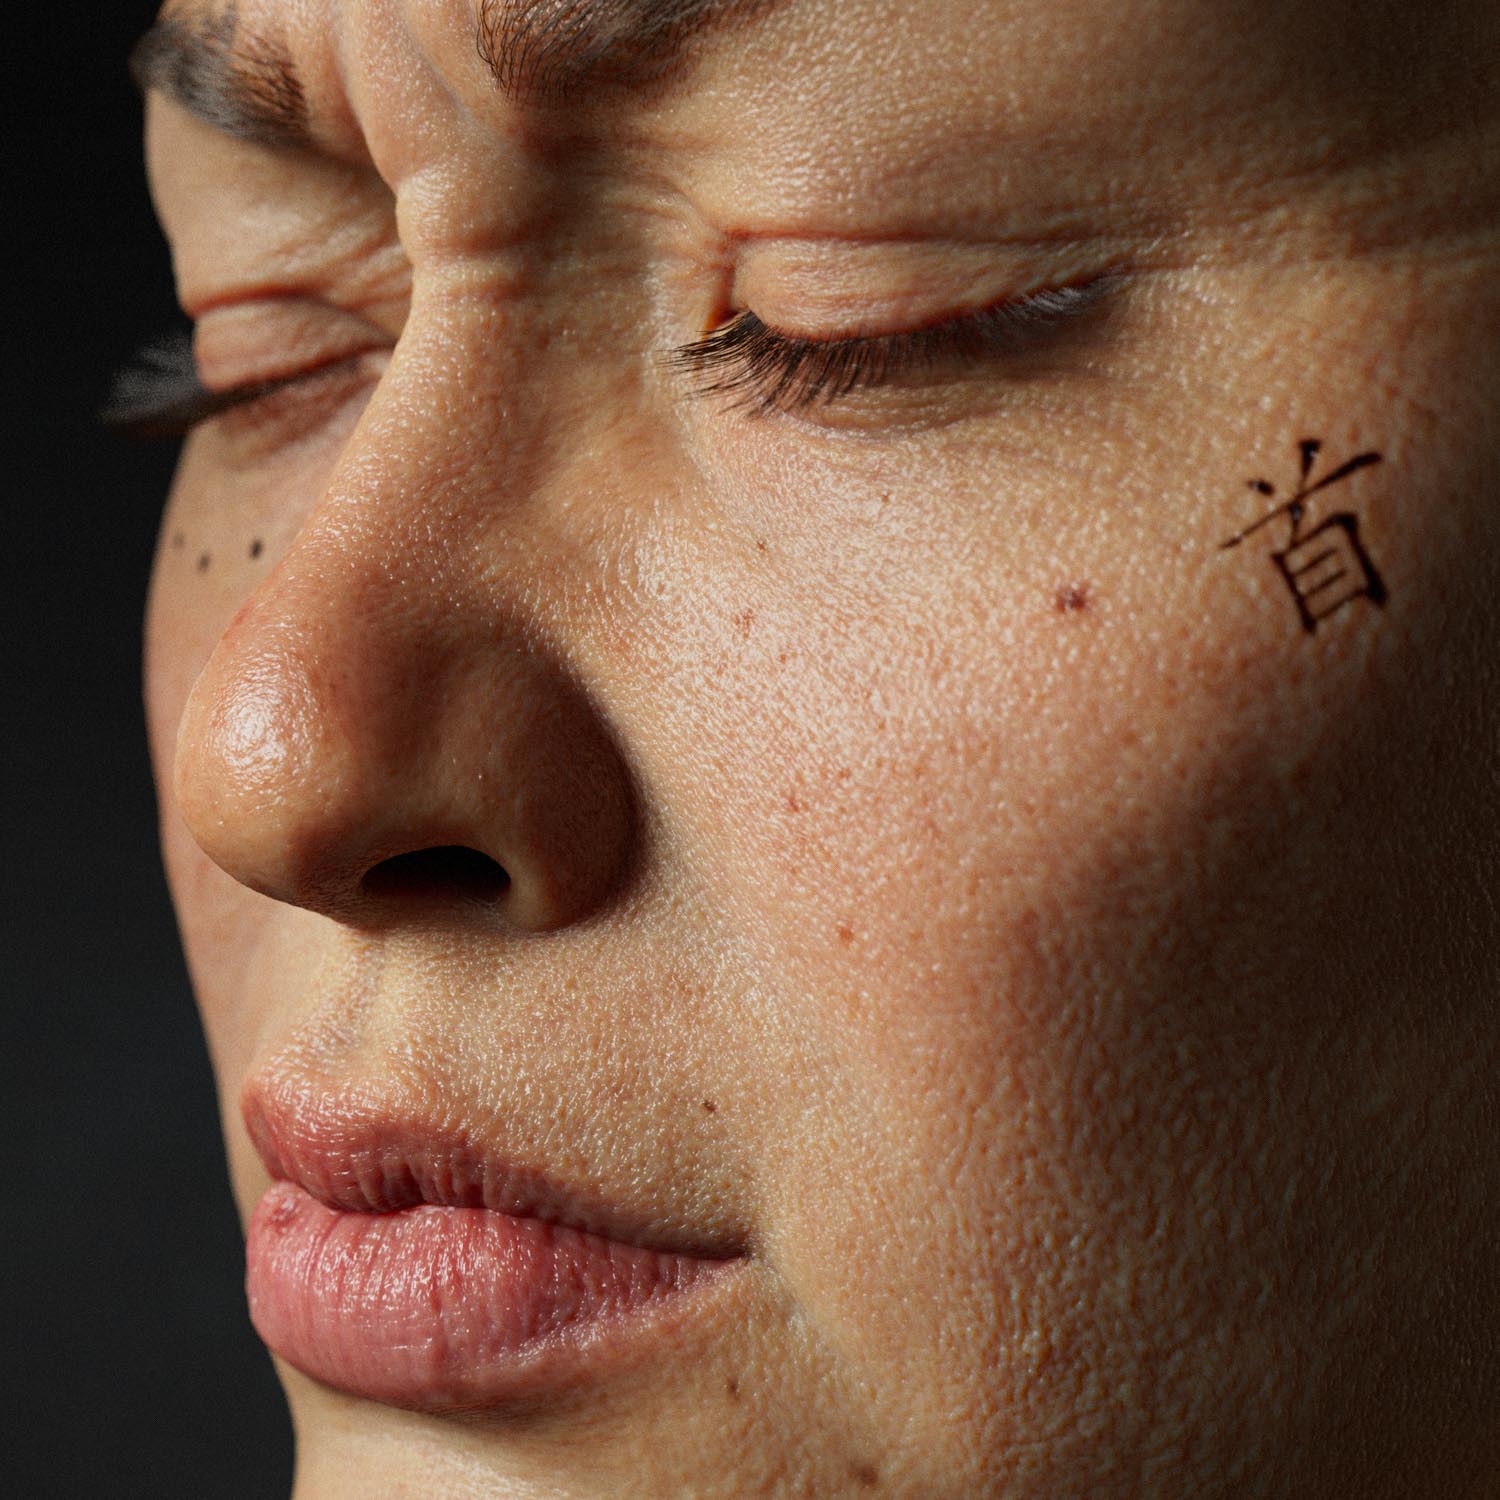
To begin with I focused on the ‘eye look’ shapes as I wanted to introduce a subtle head turn in the final pose so she would be looking slightly over one shoulder towards the camera. I also had a go at making a number of other eye shapes to create the blink test animation which you can see below.
Another shape I wanted to use for the portrait was the ‘brow lowerer’. This is one of the more expressive facial shapes we use to convey emotions such as anger, sadness and fear. Zheng Yi Sao was considered to be a fearless woman who won many battles at sea, so an expression with this shape would fit her character well and almost definitely would be used in the final pose. See below reference and shape test for the ‘brow lowerer’ shape.
Also, another ‘eye look’ range of motion test (below).
In addition to the facial rig I also created a very basic body puppet to help with posing for the portrait. This enabled me to continue working on her body and clothing in their neutral pose whilst experimenting with various poses and compositions.
Over the years I have had many attempts at rigging full body characters. To avoid repeating this process, I decided to try and create an auto rigging script to go with my custom body topology. Currently the script can place and orient joints in the correct position, providing the body topology has been wrapped correctly to the character. It also binds the joints to the geometry with preset skin weights. To improve this tool, I would like to automate the control setup at some stage too.
See below some quick post tests using a more developed version of the body rig.
That wraps up the rigging stages for this project. I hope those of you reading found it interesting, or insightful in some way. In the next post I will be sharing some of my work on the clothing and props for this character – stay tuned!