Human faces are one of the most popular subjects in the world of 3D art, but also one of the hardest to master. Over the last few months I have been trying to improve my skills by researching into character look development. I decided it would be fun to try and apply some of this research on a new 3D portrait. In this post i’ll be breaking down a few of the steps involved in creating this portrait. I will also be sharing some of my personal experiences and techniques, which I hope will be useful to some who are reading.

Sculpting
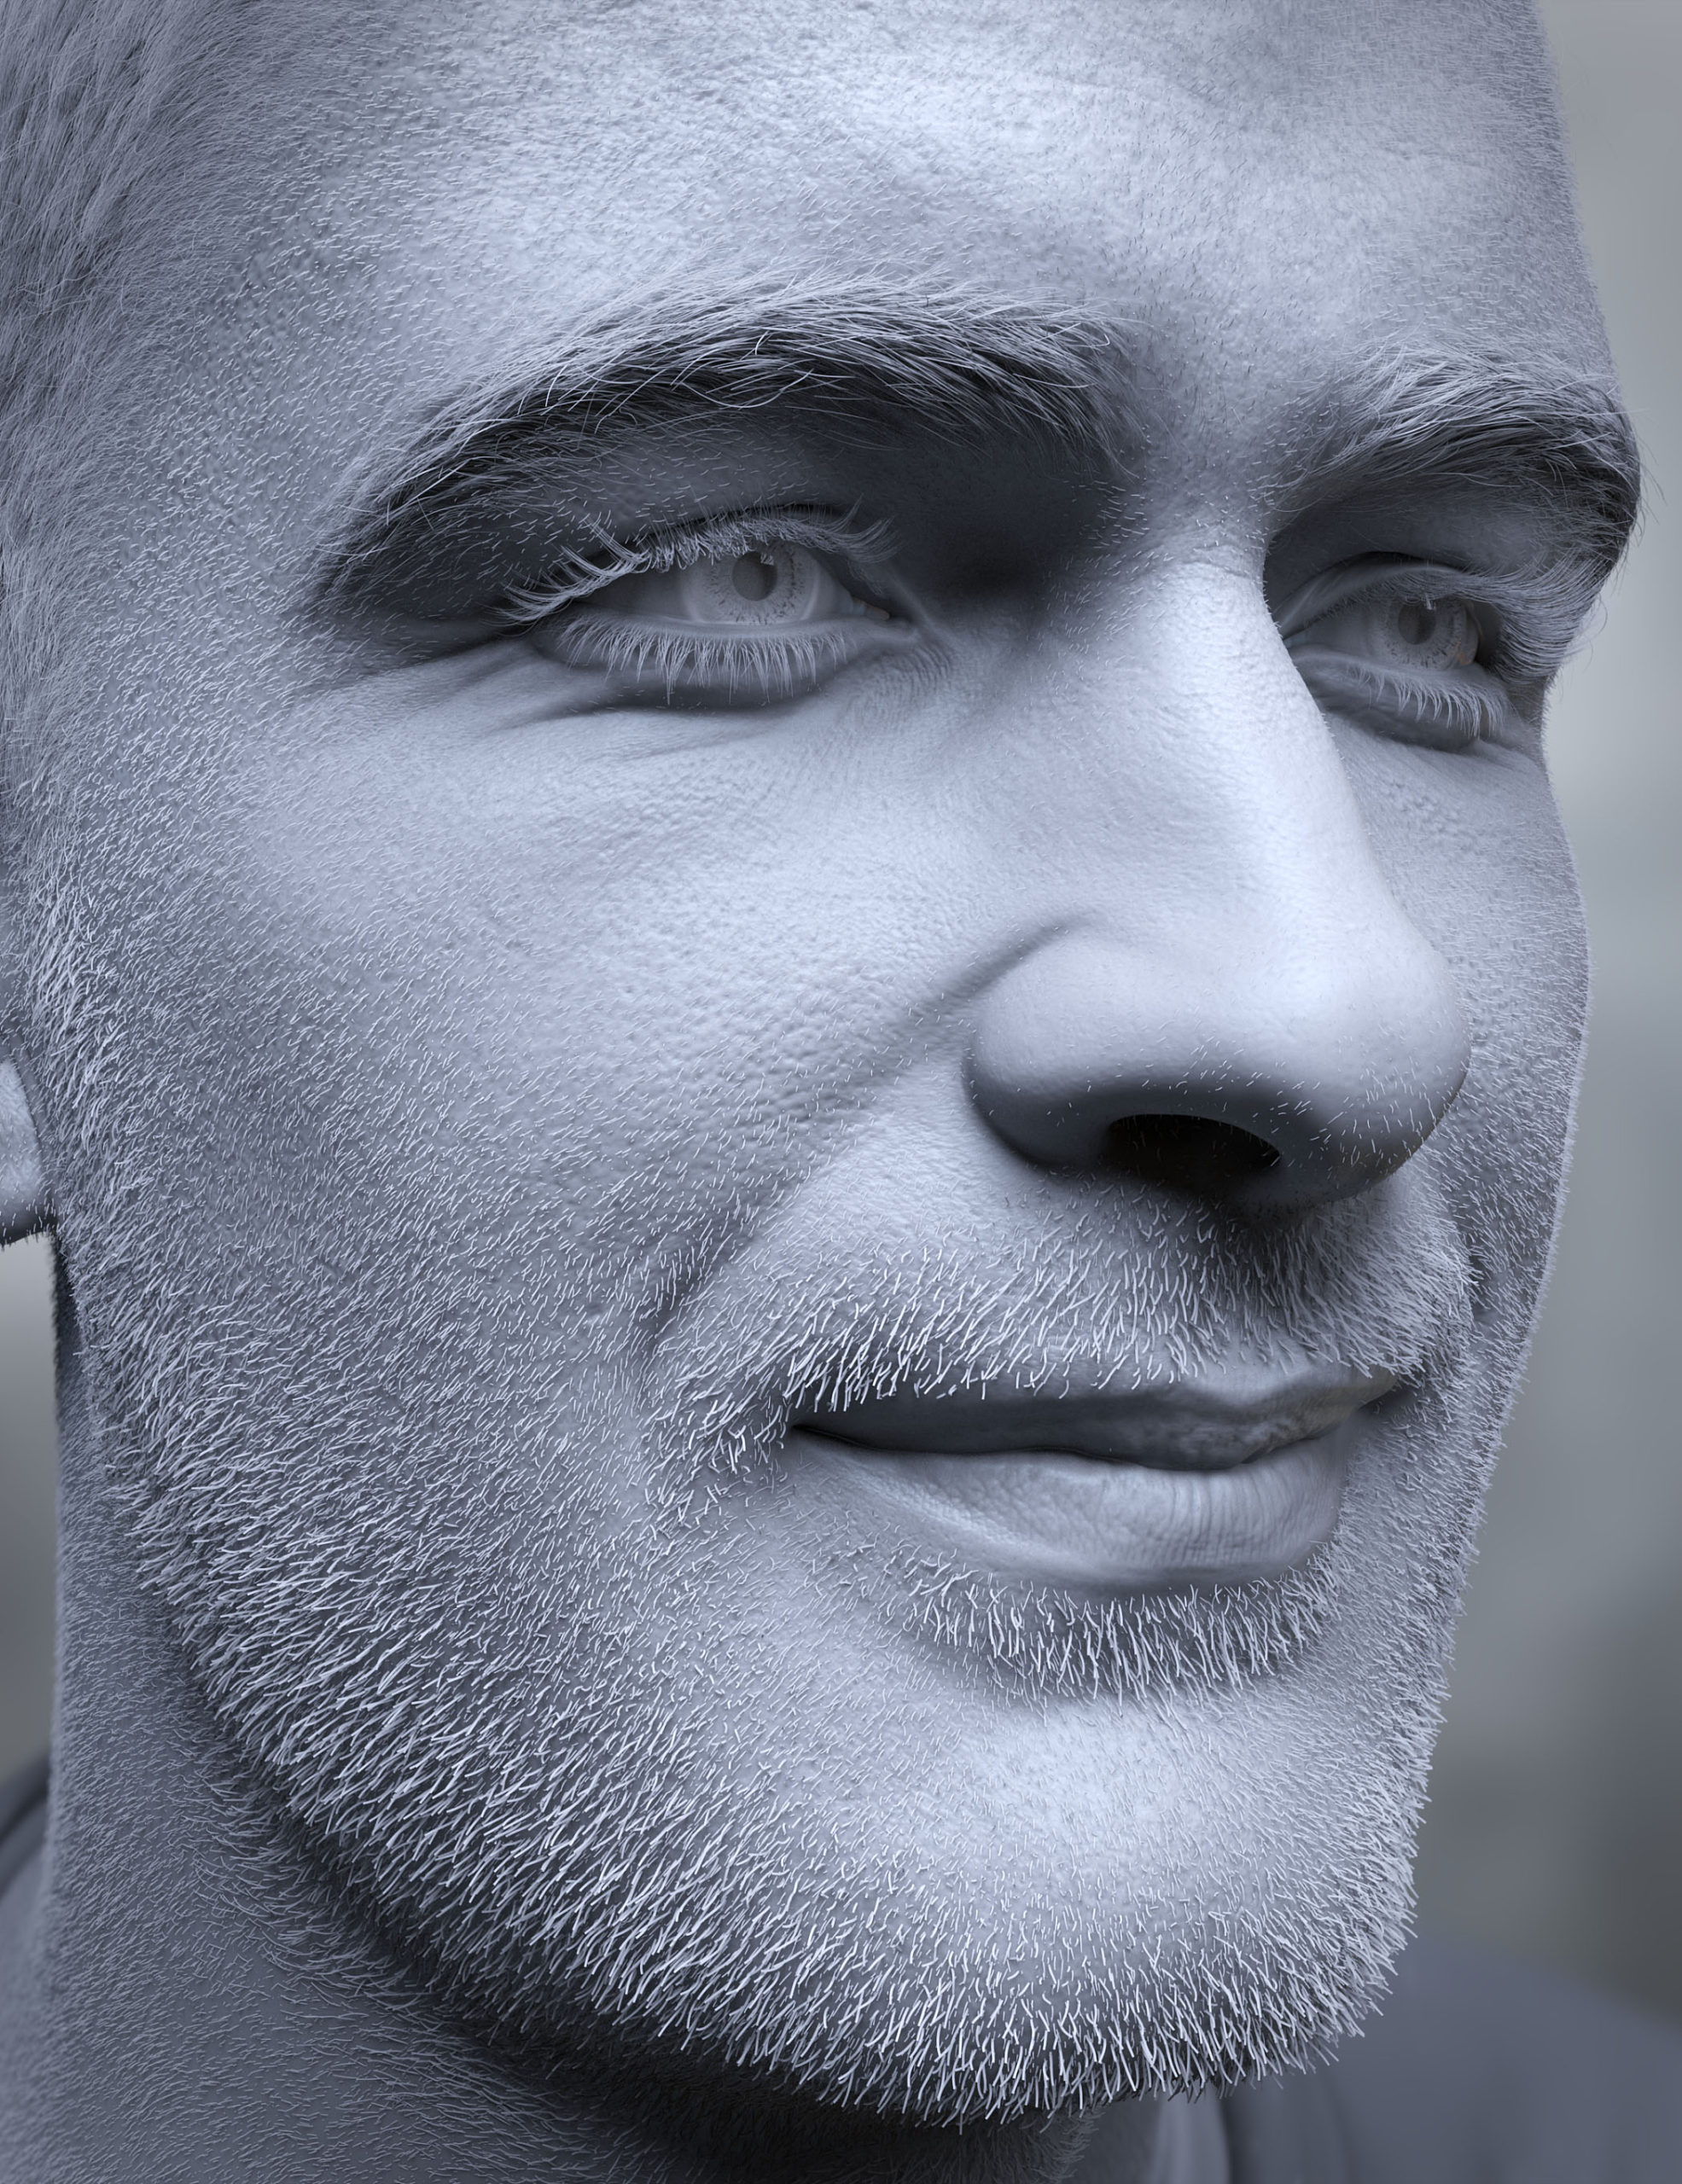
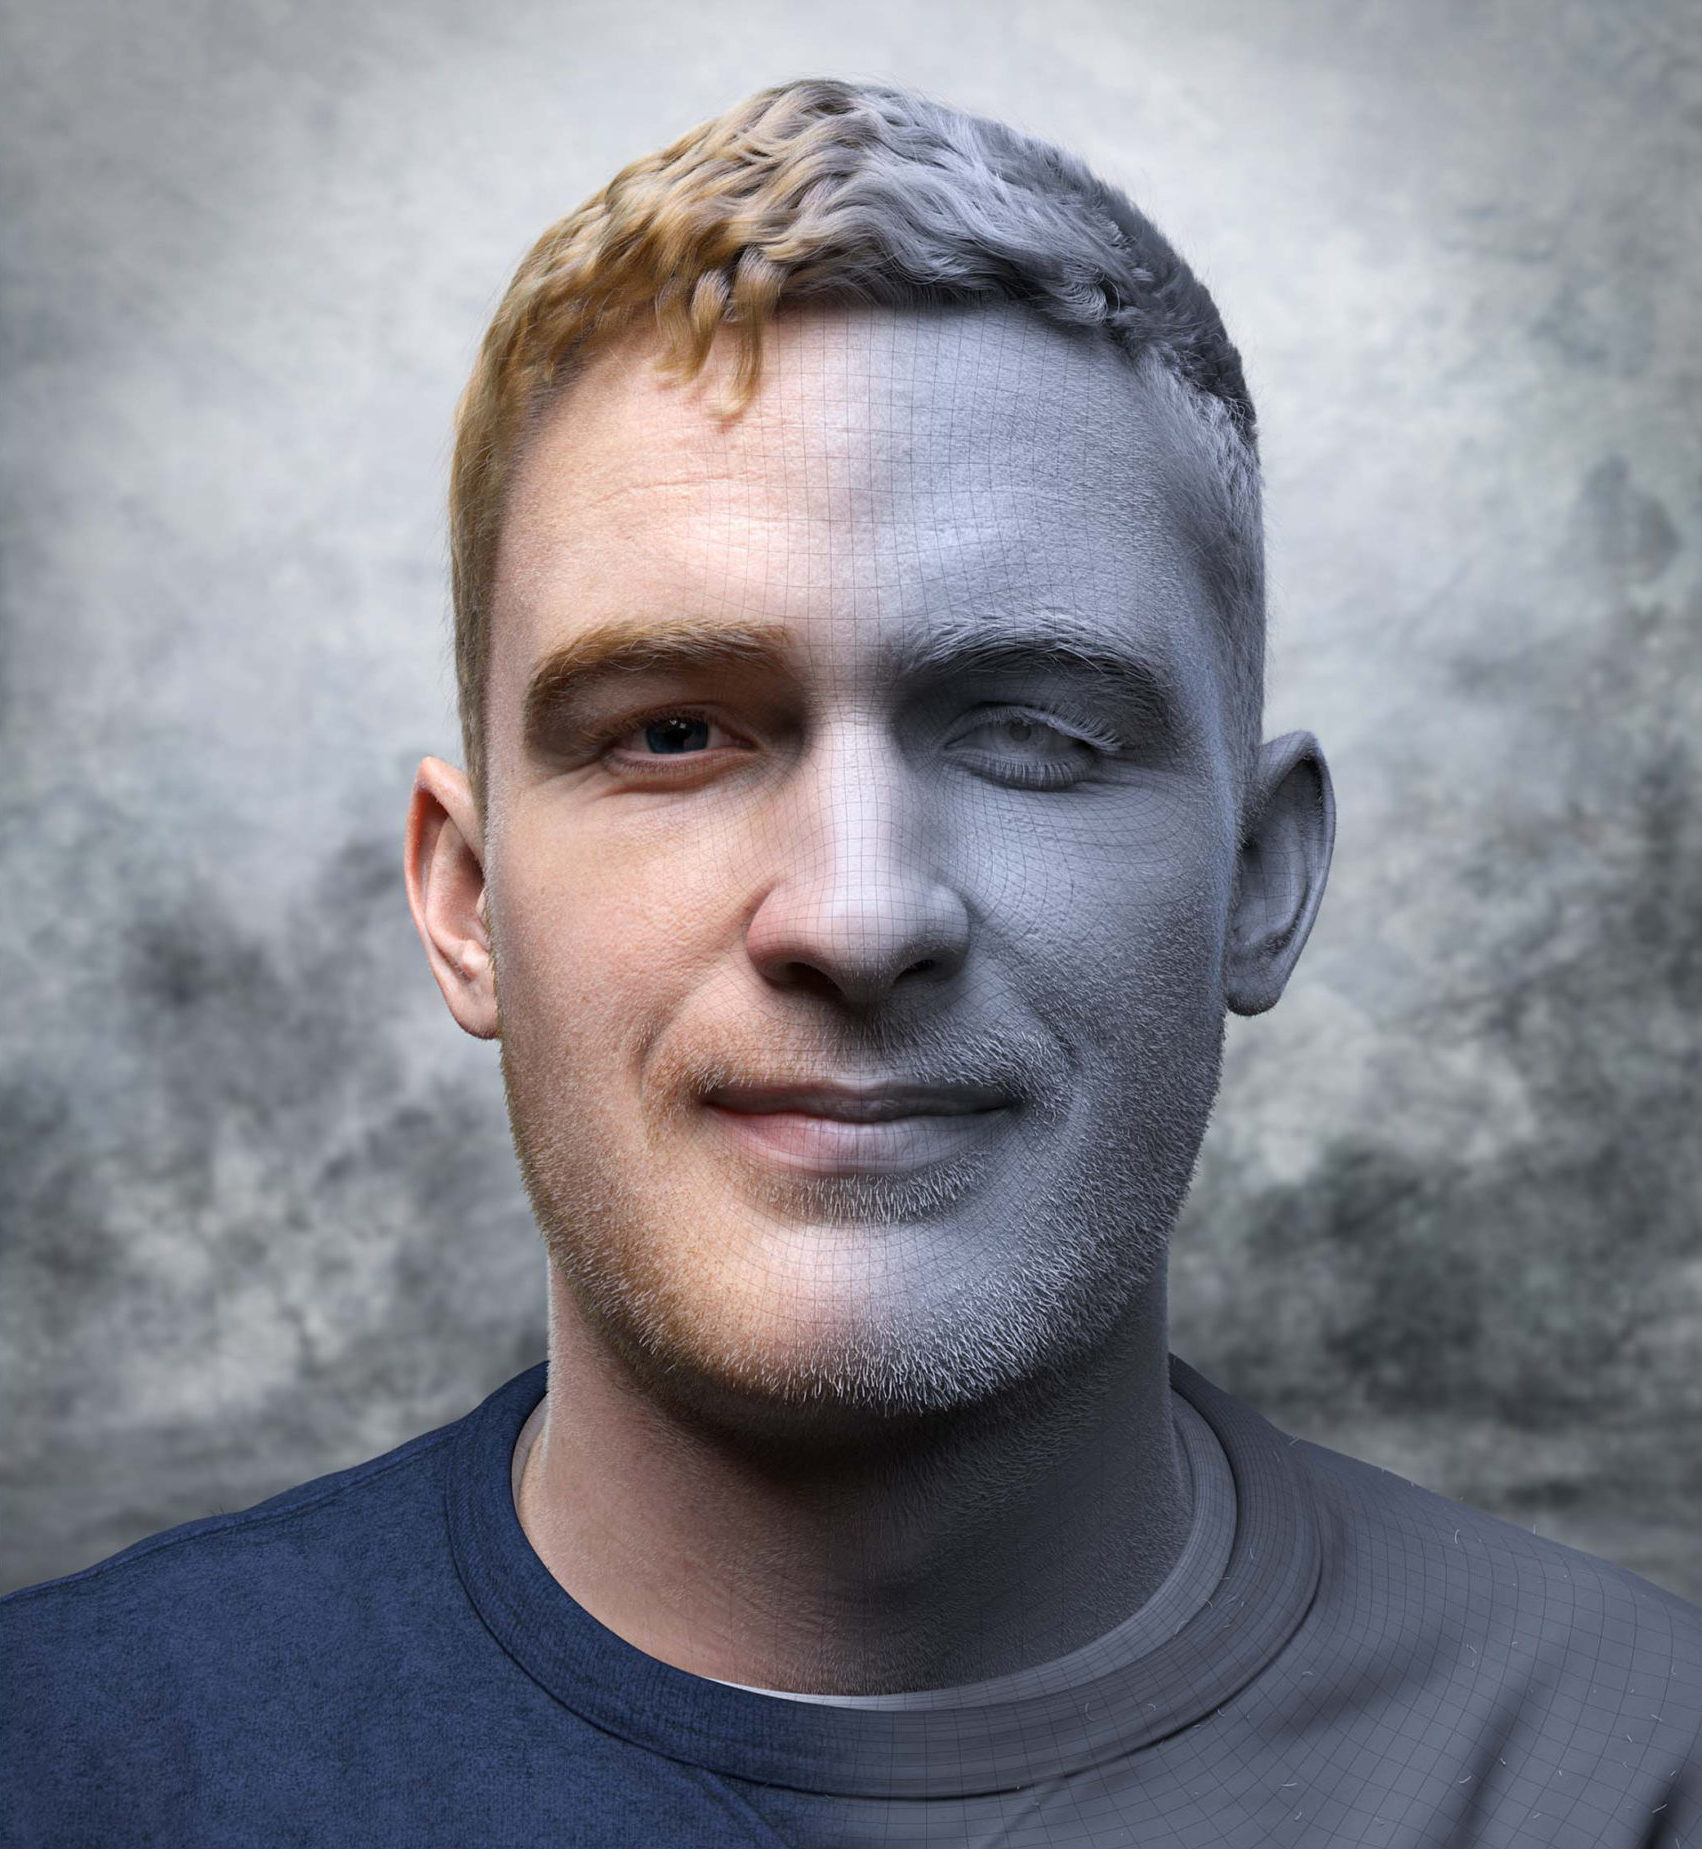
One of my goals for this project was to improve on likeness sculpting. Until recently I have had little experience in this area, as most of my work with characters has been focused on using scan data. The model for my portrait was originally from a scan that I captured using a single camera workflow. The scan was not originally intended to be used for this project; it was captured with eyes closed and a ‘neutral’ expression. Using the scan I created a basic head structure and then remodelled his eyes and mouth from reference. The data was very messy which meant careful treatment was necessary to preserve forms when removing noise and artefacts. Some secondary forms were lost when smoothing out this noise, which had to be manually sculpted back using photo reference. With better quality scan data this cleanup process would have been much easier, however it was a good sculpting exercise and a nice introduction to working with likeness in 3D.
A few tips I have when working with human faces in ZBrush:
- Eyelid planes – make sure they have enough thickness
- Mouth corners – try to avoid pinching in the corners
- Lips vermillion boarder – sculpting some sharpness to this area of the lips can add a lot of realism to the model
- Nose planes – the nose has many plane changes which can be exaggerated slightly to help find the likeness
Using reference is really important; something we hear all the time, but for good reason. For this project I had a set of photographs that I captured during the scanning process. I use an app called Pure Ref, which is free and very simple to use – one of the most useful tools I have come across in recent years. The Pure Ref window just sits nicely on top of all your other windows, and you simply drag and drop the images into it.
Surfacing
For the skin surfacing on this portrait I wanted to experiment with a new technique. I decided to use Texturing XYZ – a technique I have seen used a lot, but not tried myself until now. To begin with I used Mari to project the XYZ multi-channel displacement map onto my head model. When doing this I would recommend zooming in as close as you can so you get the most out of the Mari paint buffer resolution limit. Also, a trick I learnt after this project is to split the XYZ map into multiple pieces so it’s easier to paint different areas across the face – you can do this using the crop button in the Mari Image Manager window.
Once the projection in Mari has been exported I split the map up into three channels (low, medium and high frequency), which were then applied as a displacement to the high res mesh in ZBrush using layers. Finally, everything was baked out of ZBrush into a single displacement map ready to use in Maya. One of the slight down falls to this approach is that you are restricted by the poly count of your mesh in ZBrush, and some detail may be lost during the intermediate steps.
There is another option which involves layering the three displacement channels from Mari directly on top of your base displacement in Maya – I imagine this would give the best results, but am yet to test it out. This is covered in detail in a blog post on the Texturing XYZ website.
Another way you can improve surface detailing on a character is to split up the UV’s into multiple UDIMs so that the resolution is spread out across multiple texture tiles. For this particular portrait I chose to stick with one UDIM as I was not planning on doing any macros skin shots, and it meant I could work much faster.
Hair
For most of the hair on this project I used XGen core with guide based grooming which was split up into five descriptions; main hair, brows, lashes, vellous hair (peach fuzz) and stubble. The vellous hair and stubble were created using groom-able splines. XGen is an area that I am still looking to improve on, but I have learnt enough of the fundamentals to be able to get through the process. If you are looking for a place to start learning, I would recommend checking out the CG Grooming Artist facebook group; it has an active online community with lots of experienced artists on there.
Some tips I have for anyone just starting out:
- Optimise UVs – make sure each of your scalp meshes are making full use of the 0-1 UV space
- Symmetrical Scalp Mesh – with a symmetrical mesh you can mirror you guide curves and mask painting. You can always use a morph target later to add back the asymmetry
- Even Guide Spacing – your clumping modifiers will work better with even guide spacing and will give a more natural look to the groom
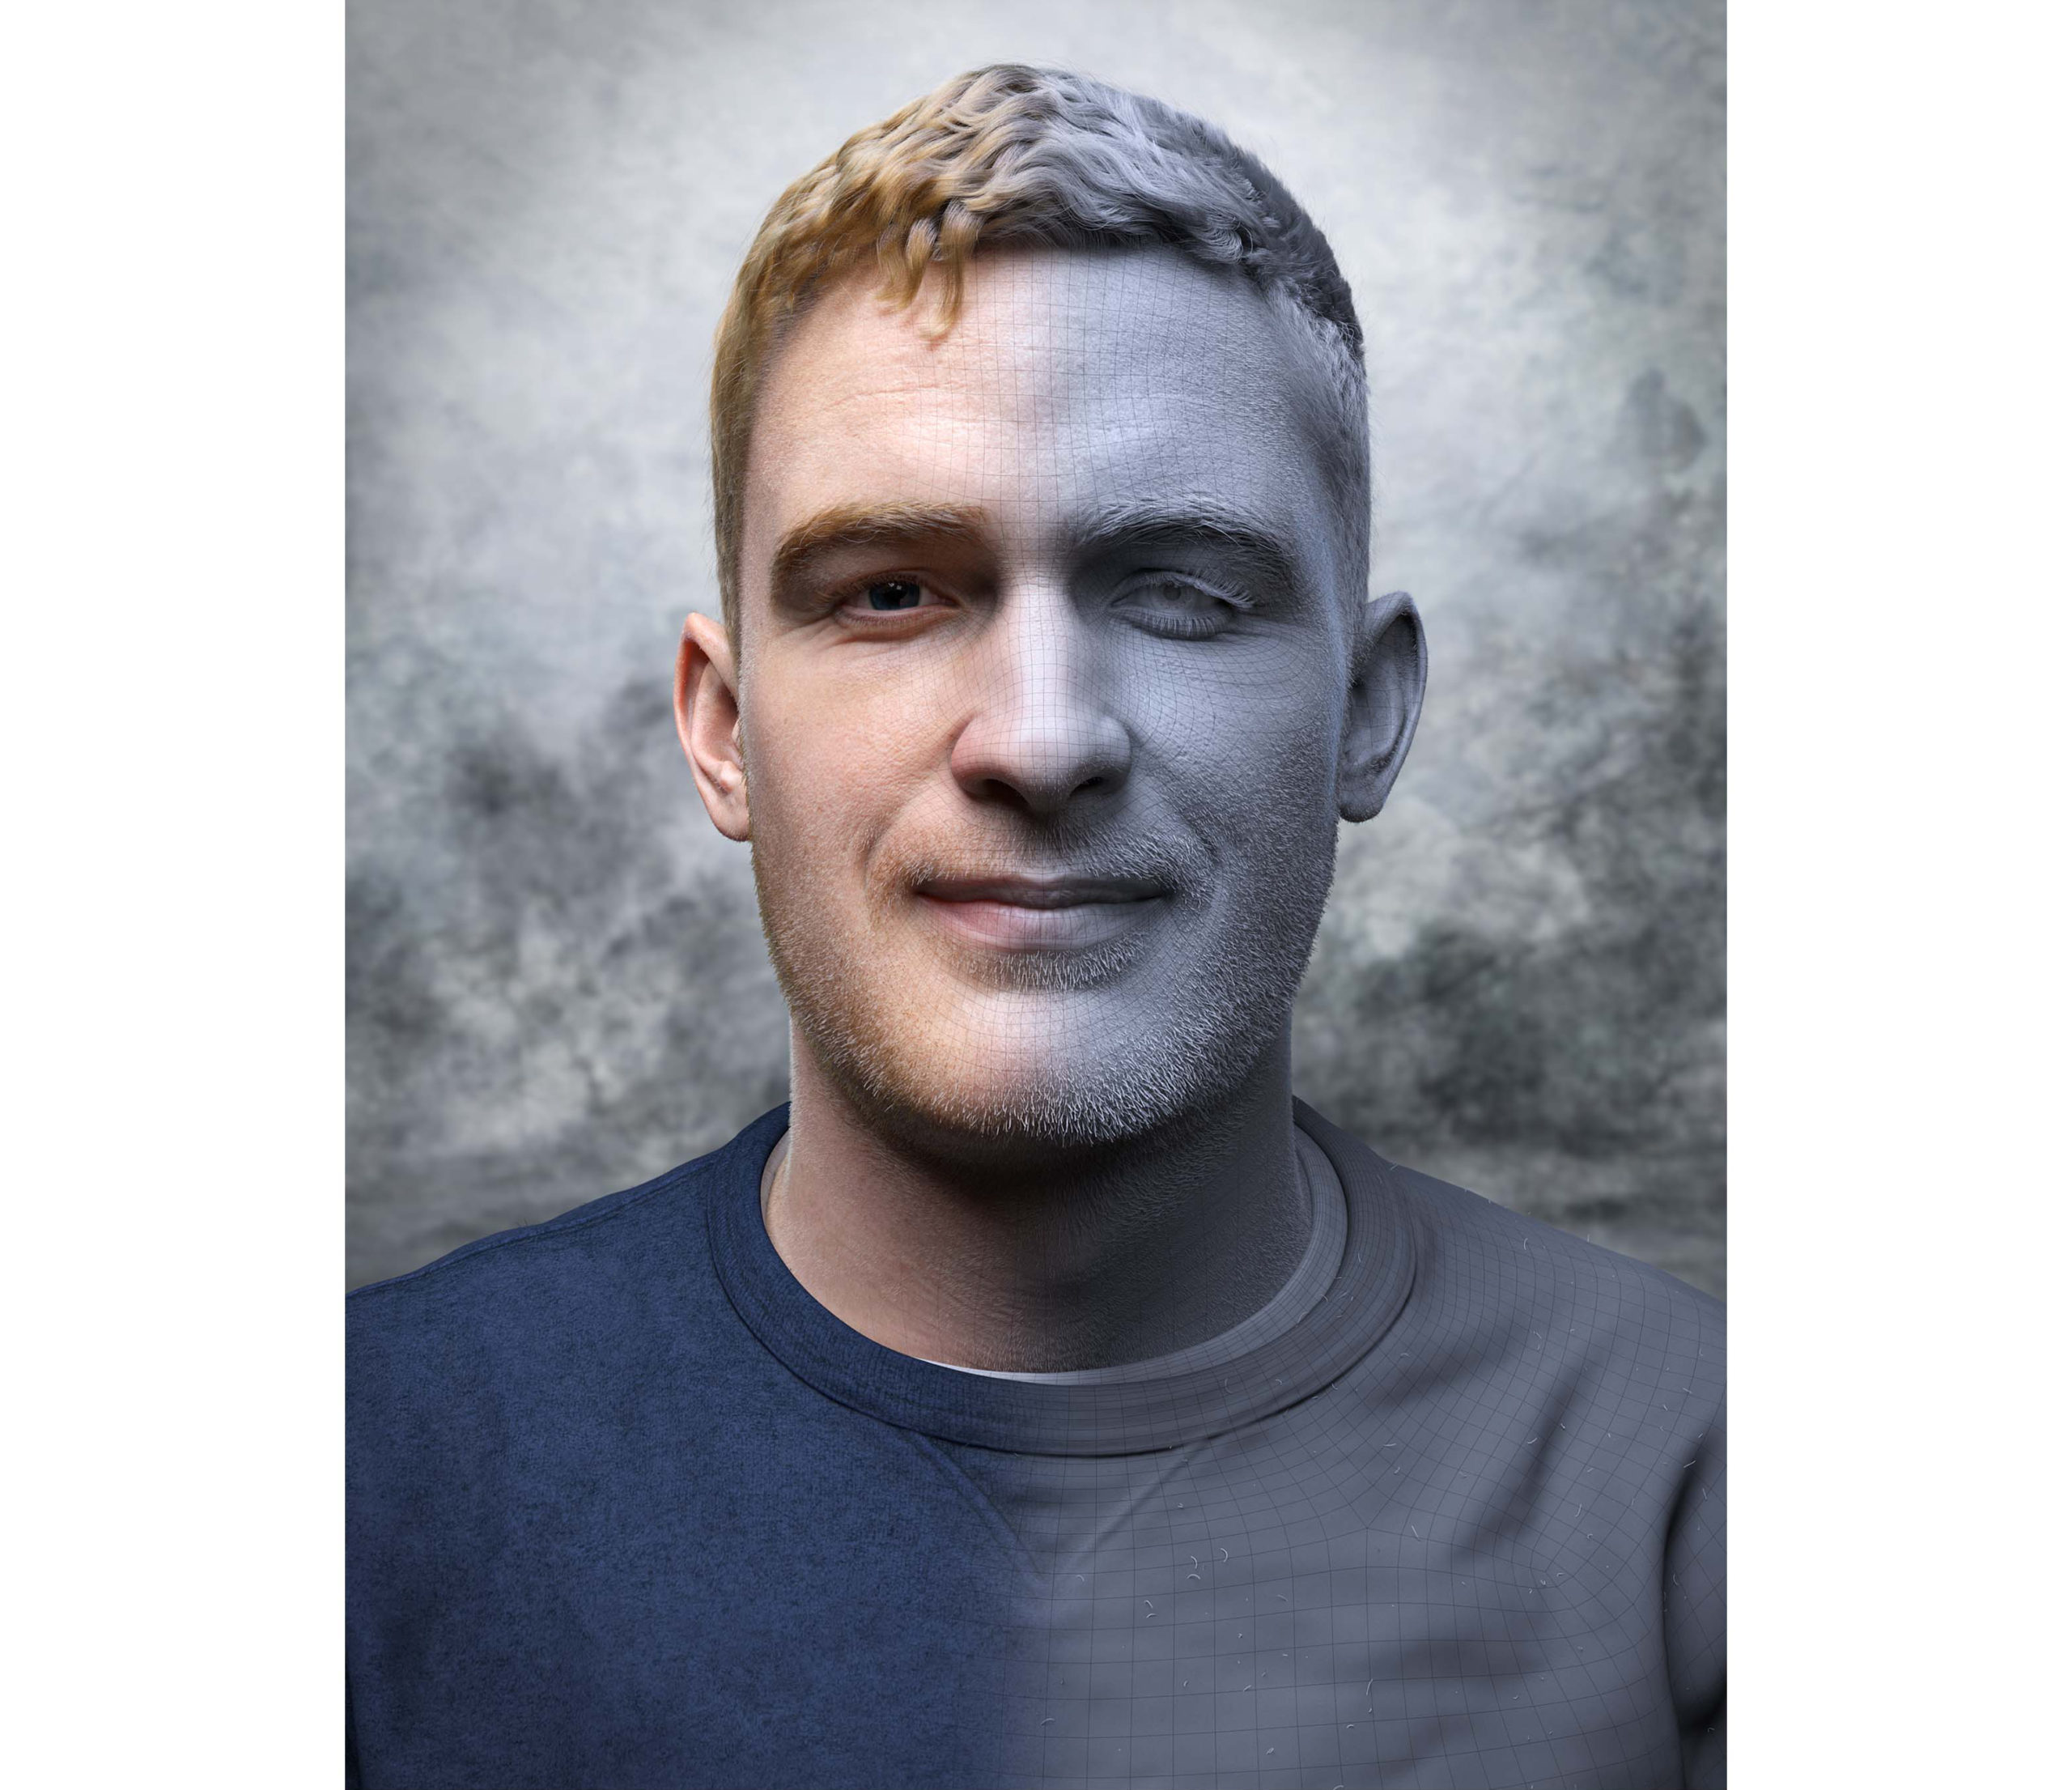
Final Renders
Creating this portrait was a great learning experience and I really enjoyed putting into practice some of the tricks i’ve been learning over the past few months. I hope this has been helpful to some of you reading, and as always, feel free to leave a comment below if you have any questions on the project.
See below final portrait and breakdown renders.